Today I’m gonna talk about how I use YouTube for my blog.
This year I made a conscious effort to actively use YouTube as my primary blogging method, and there are a couple of particular reasons why.
How I use Youtube – How to Use Youtube for Your Blog
Why I’m using Youtube
Ease of Good Topics
The first reason why I’m using YouTube to create my blog posts is the ease of finding good topics. This is all thanks to an amazing tool I’ve been using for about a month or so and love.
It’s called TubeBuddy.
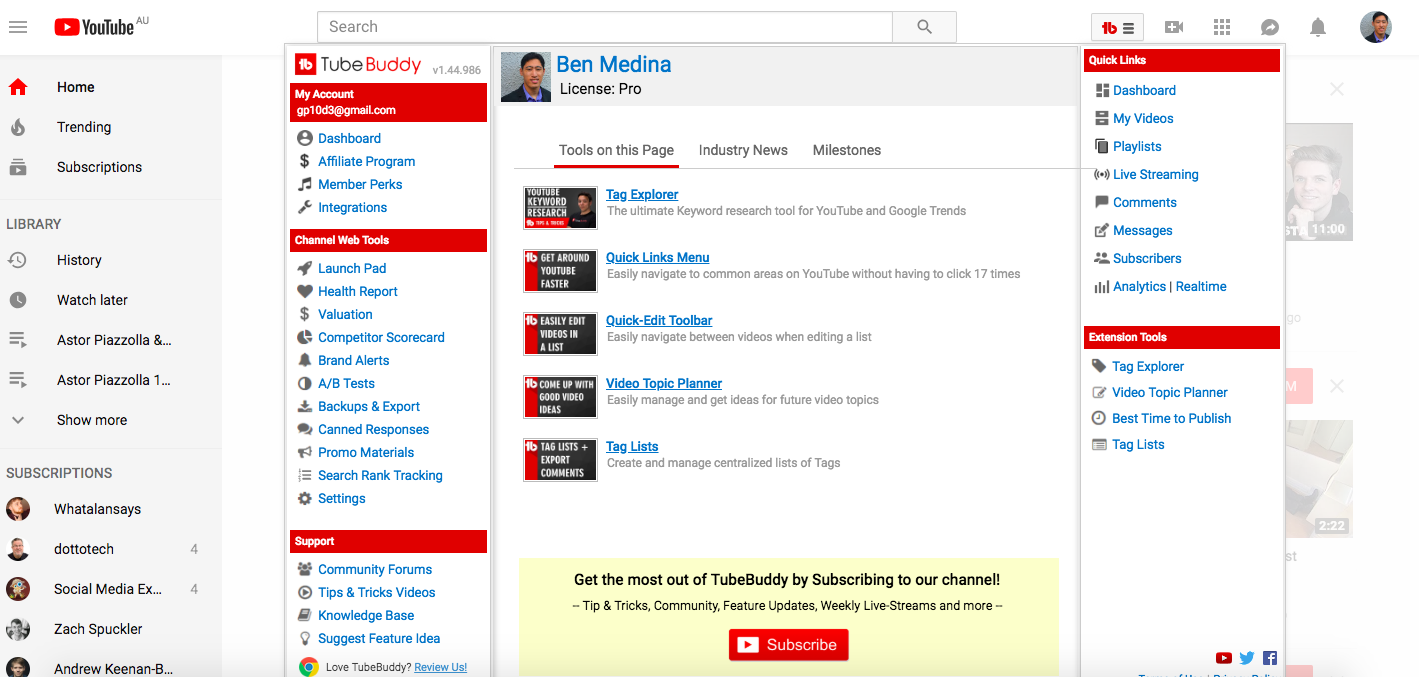
You can learn more information and check it out here (aff). Tubebuddy is free so you can download it to your browser right away. You can also check out the paid plan (which I’m on) and there’s a bunch of extra features that it gives you.

Thanks to TubeBuddy, I can easily come up with topics for my YouTube channel and blog (more on that later)
Youtube Live
I have done a couple of YouTube Lives in the past and they’re different than pre-produced videos. YouTube Live obviously doesn’t have music or an edited, fast-paced feel (like the video above). What I love about YouTube Live is it’s so easy to create YouTube content because you just go live.
It makes a blog post better
My third reason why I’ve decided to use YouTube as my main blogging platform is that it’s just so nice when you have the YouTube video on a blog post. You can either read the blog post or watch a YouTube video.
With a Youtube video, you have this sense of me and what I’m about because you can see and hear me.
Easy to Create Blog Posts
A bonus reason why I love using YouTube is that it’s super easy to make a blog post.
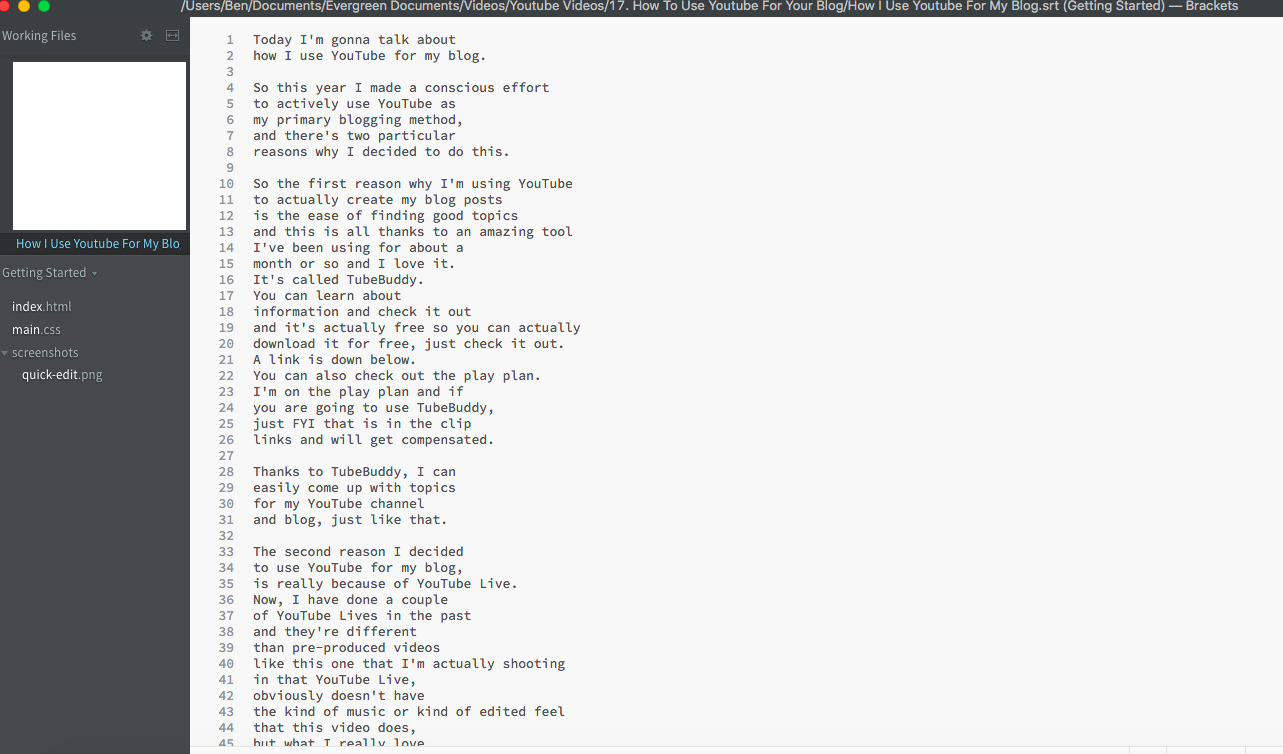
All I have to do is take the captions file, edit it a little bit, and add some photos and headings.
So that explains why I’m using YouTube as my blogging weapon.
Now I’m going to go over the actual process by which I actually create my YouTube videos. You can adapt this process to your own blog.
How I use Youtube For Blogging
Pick a topic
The first thing that I do whenever I decide to make a YouTube video is to pick a topic. To do this I use a tool called Tubebuddy.
This is a tool where you can actually type in keywords and it will give you a score on whether it’s a good video topic idea. If it isn’t, you might need to try and come up with something else.
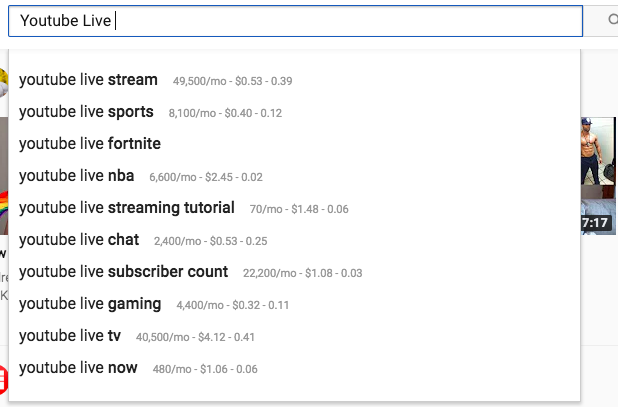
Here’s how to use it:
- Go to the Search bar and type in some keywords (for example, YouTube Live)
- Copy one of the different examples that come up (in this case YouTube Live Streaming Tutorial)
- Open the Tag Explorer tool in Tubebuddy
- Type in the search term and click Explore. Tubebuddy then gives a score based off of whether they think this is a good video to make.
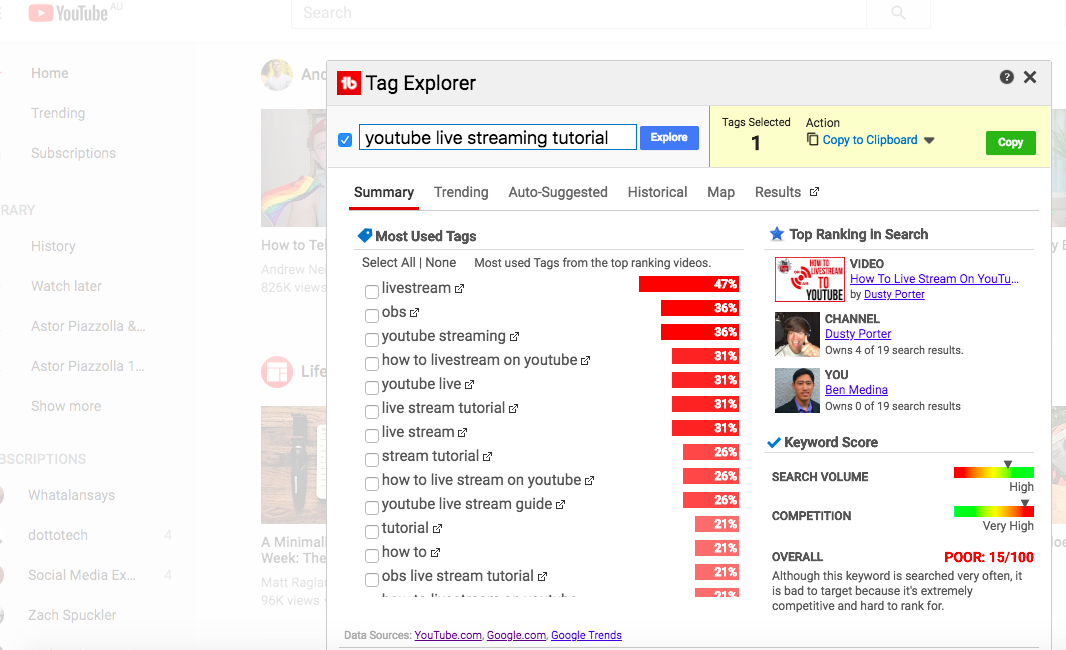
- If the tag is good, I copy it and relevant tags below and save them in a Trello board (more on that down below)
Add to Trello board
The next step is to actually save these ideas in a Trello board. While it’s there, I take time to create the title of the video, the description, and a brief outline of what I’m going to say.

I’ve talked about Trello multiple times before; here’s a playlist on how to use Trello more effectively.
Craft the description
The next step is to actually craft a description.
The way I craft my descriptions is I use the tags I created using TubeBuddy and I craft a description that is designed to:
- appeal to YouTube search,
- Sounds kind of natural and enable you to actually find the video so that you can check it out.
Create the video
After I’ve inserted the video into Trello and figured out the description, title, and outline, the next step is to create the video.
For video creation, I will either:
- Use Youtube Live. To do this, I either go live on my phone or use Google Hangouts on Air to broadcast my computer screen.
- Shoot a video. To do this, I shoot 10-15 second clips, edit it together, add some music, and upload the video.
Add interactive elements to your video
One of the nice things about YouTube is that there are all these interactive elements you can use.
I always add YouTube cards and end screens to ensure that the viewers can see all sorts of videos. It lets me take advantage of all my videos on YouTube so you can check out all my content.
Add captions
The last step in actually creating the YouTube video and getting it ready for publication is adding a captions file. I like to use a service called Rev.com. They’re my favorite way that I create my caption files.
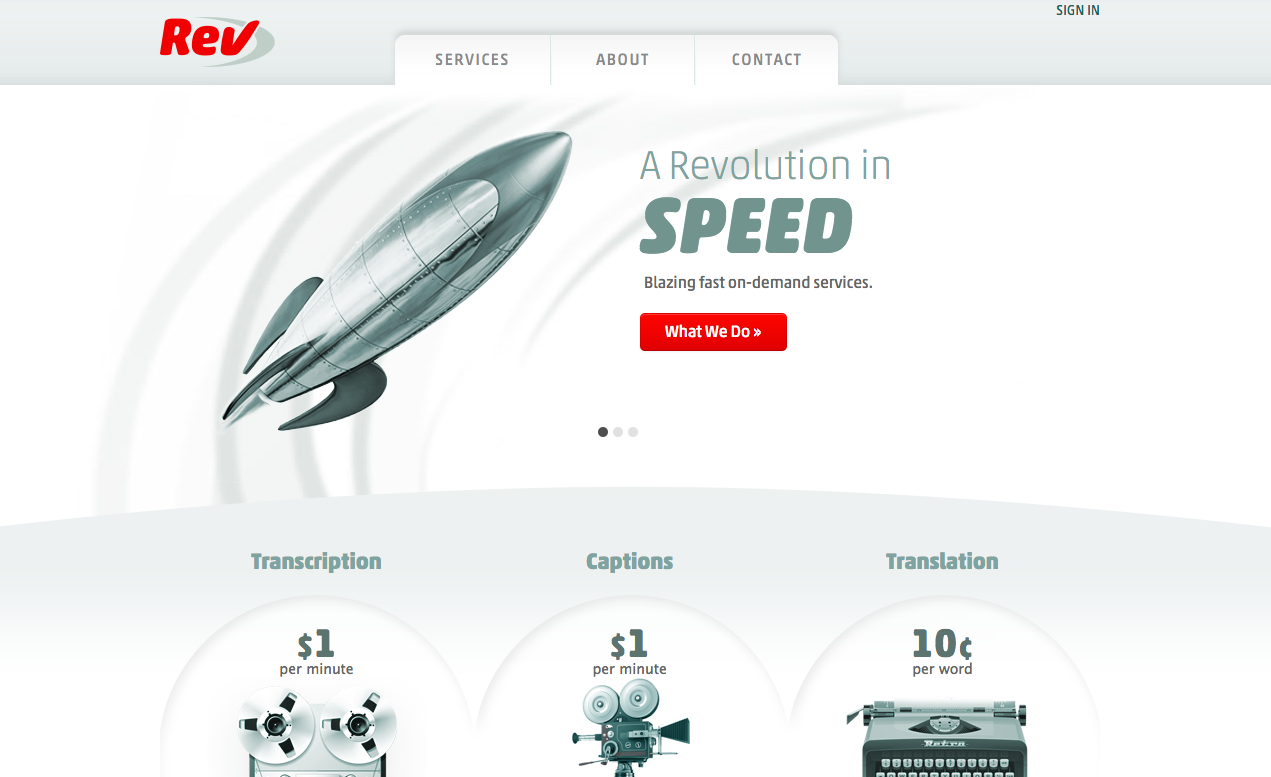
The really nice thing about Rev is that you can sync up your Rev account with your YouTube account. Then it will upload the captions direct to YouTube and I don’t have to do anything.
Create the blog post
The last and certainly not the least important step is actually making the blog post.
So what I do is I take the Youtube video and embed it on my blog. I take the captions file and edit it to make my blog post. Then I add all the images as well as social share buttons and just like that I have a new blog post on my blog, all emanating from my YouTube channel.
Over to you
Those are my steps for how to make blog posts from your Youtube videos. What about you? I’d love to hear your process in the comments!